
Lack Enclosure
11/6/2023
For years, I have been interested in building a 3D printer enclosure. It started in high school, when I was working at a tech repair shop. We had an in-house Prusa printer, and we wanted to put it in an enclosure. The only problem was that we had lost the instruction guide for it. We never wound up finishing that project.
Later on in life, I got my own 3D printer. I remembered the enclosure from then, and realized it would be good for eventually controlling print temperatures and doing alternative filaments. There are many popular types of print enclosures, but the most robust and furniture-like one is the Lack enclosure. It's called Lack after Ikea's Lack tables. They are as close to cubes as tables can get, and they are relatively inexpensive - great for DIY projects. So I picked up a few knock-offs from Walmart, gathered some dimensions, and drew up a quick file.
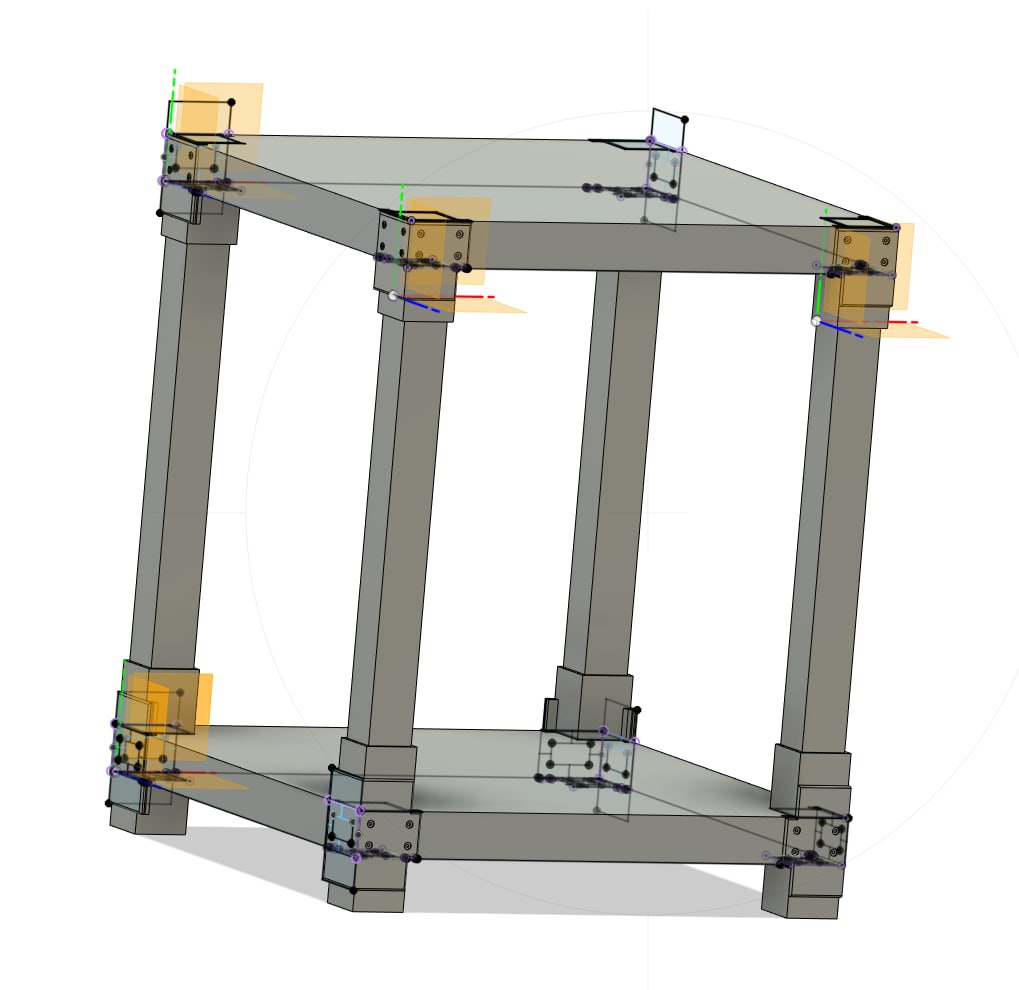
This file realistically only has one component, which then has sides removed or altered to compensate for holding glass sheets later on.
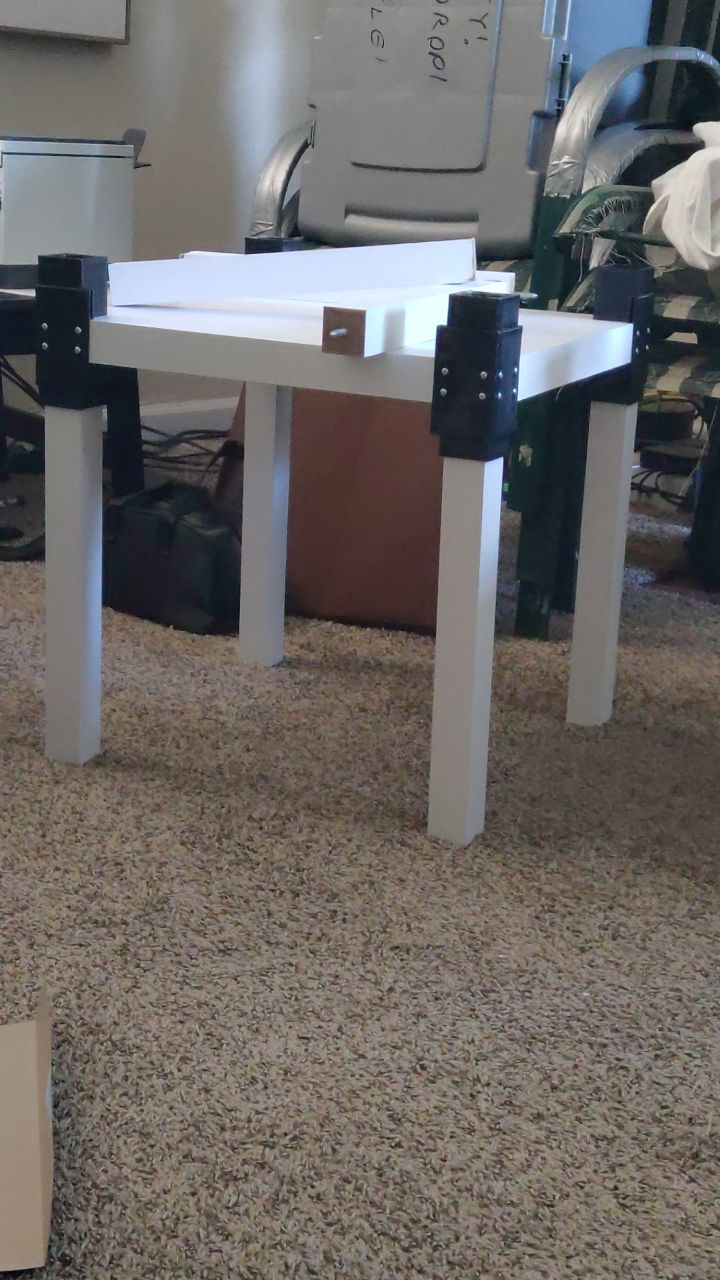
I knew from my previous experience potential pitfalls of this plan. The first is the screws for the legs. Plastic is not particularly great for driving screws into, and this creates a huge point of weakness in the design. I compensated for this by creating boxes for the legs to insert into on the bottom, leading to a highly rigid design. The second was the plexiglass insertion points. I could have done better with this, and made the glass more flush with the sides. But for my purposes, this works well enough.
So I got through my first print. After a few failures, it turned out great.
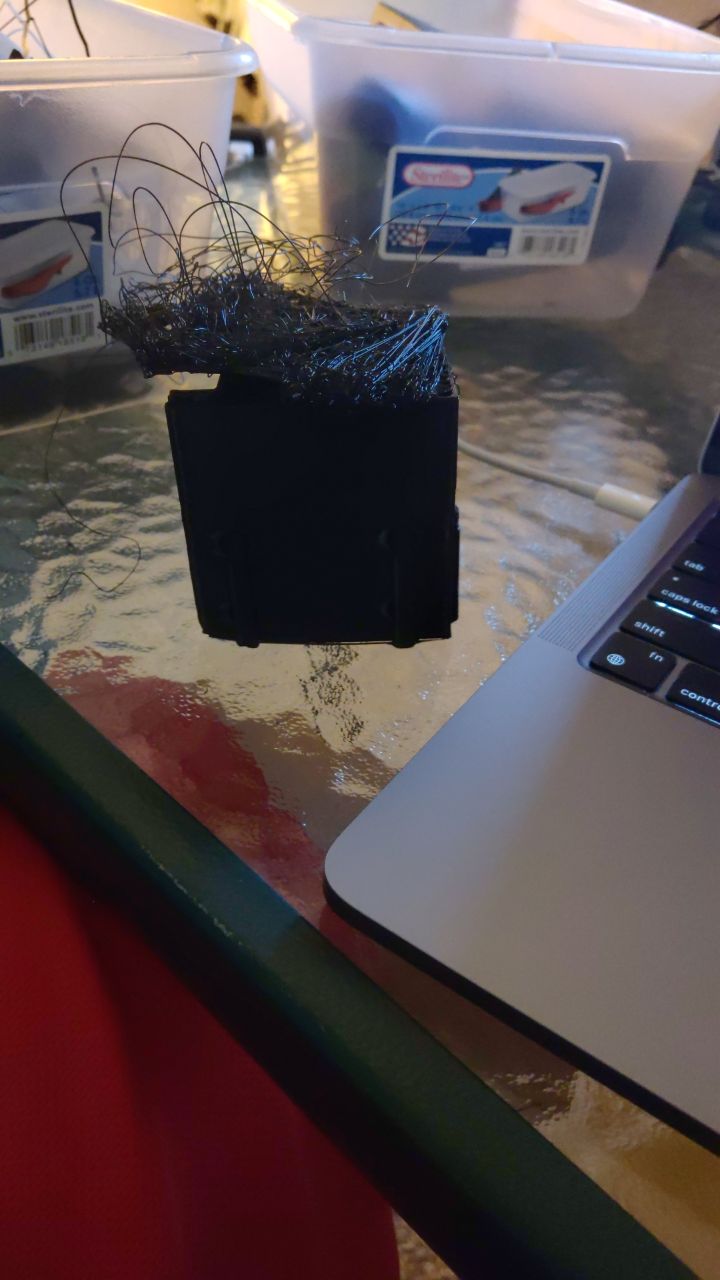
It was a pain to clean up afterwards, as the raft stuck to the sides, and caused some tearing.
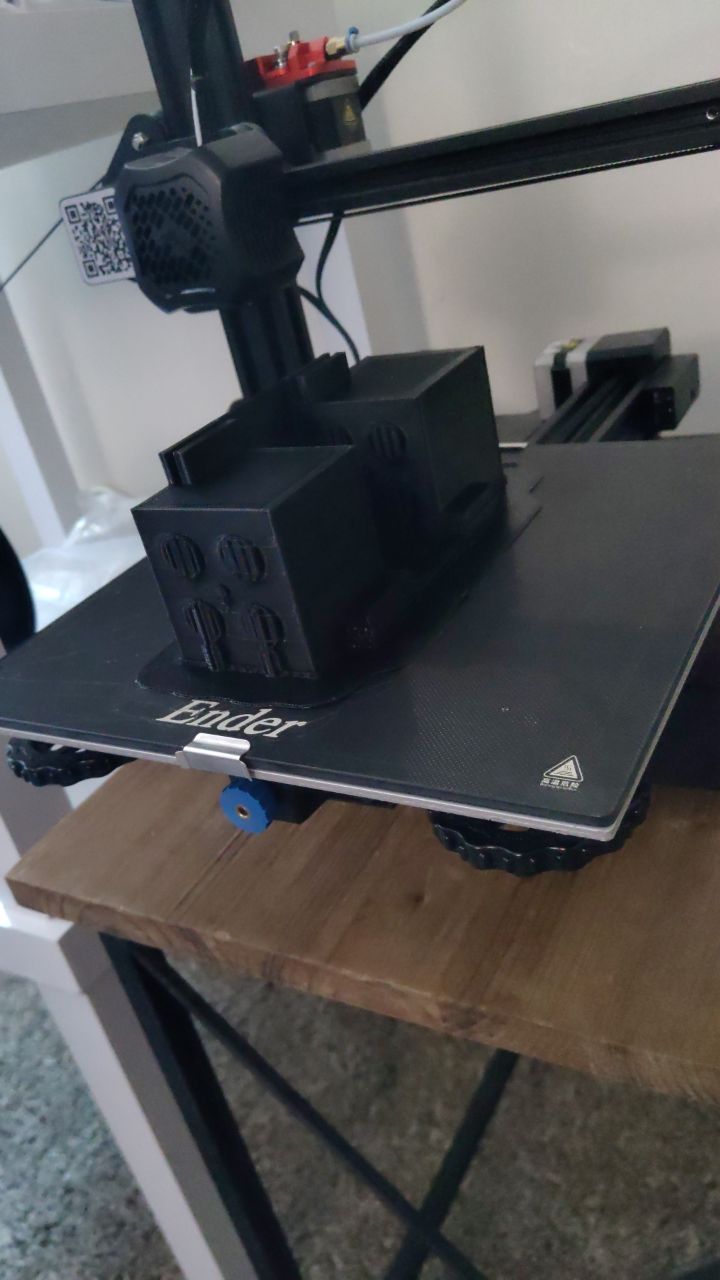
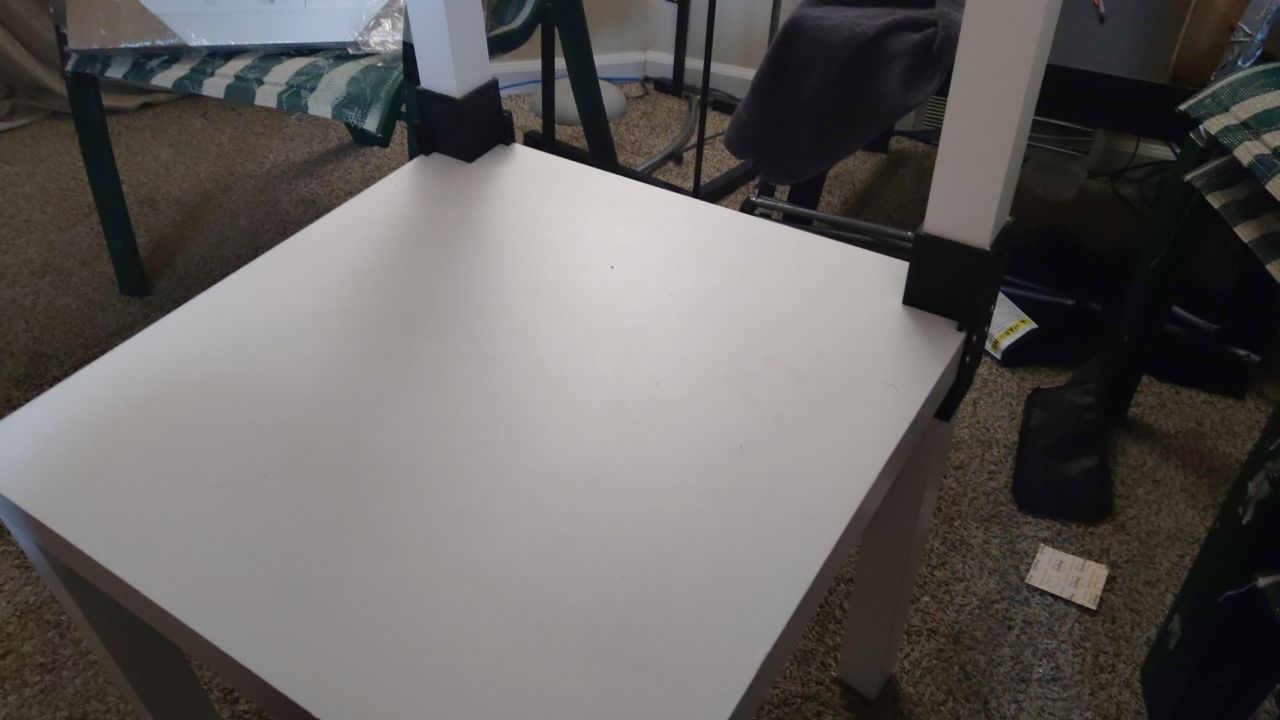
After a few more days of these long prints, the table was finally starting to come together.
The plexiglass was pretty awful to insert. I wound up having to cut it down a bit on the sides, and had to cover some jagged edges with rubber strips to make a seal.
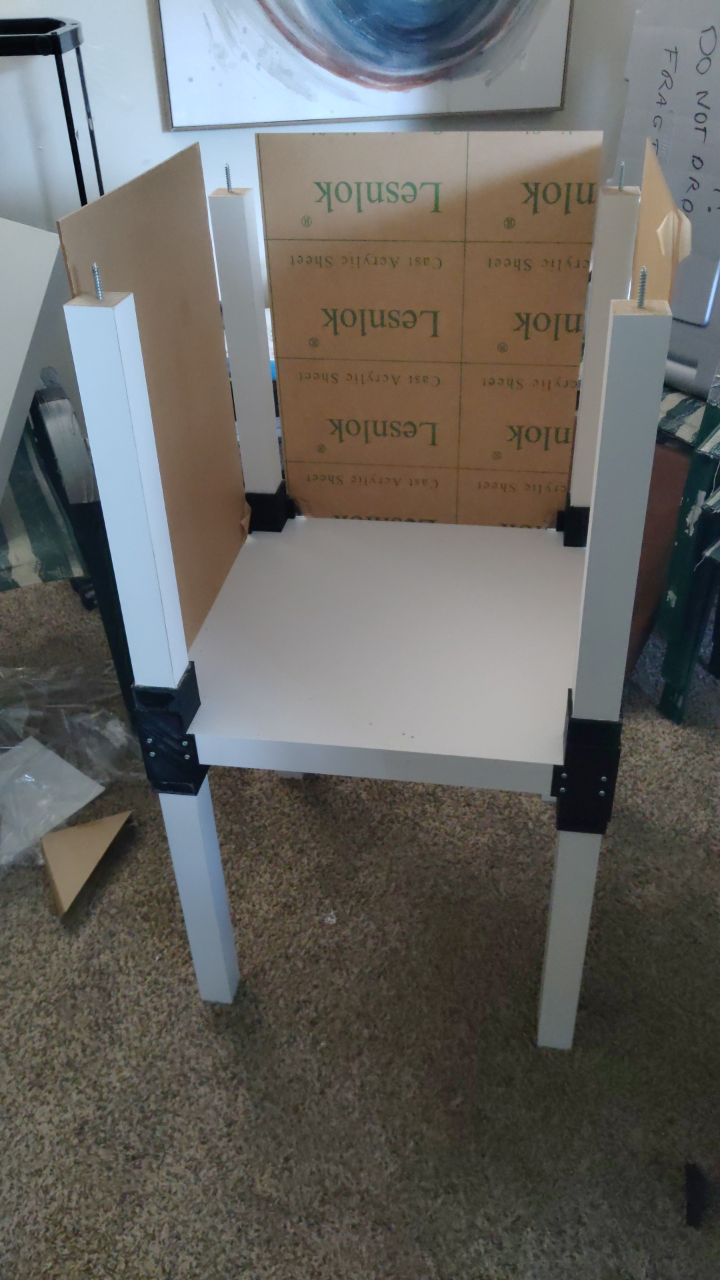
I kept the paper on the plexiglass, since I knew I was going to be moving halfway through this build.
I didn't get any good photos of it before installing the lights, but a lot of time went into the finishing steps.
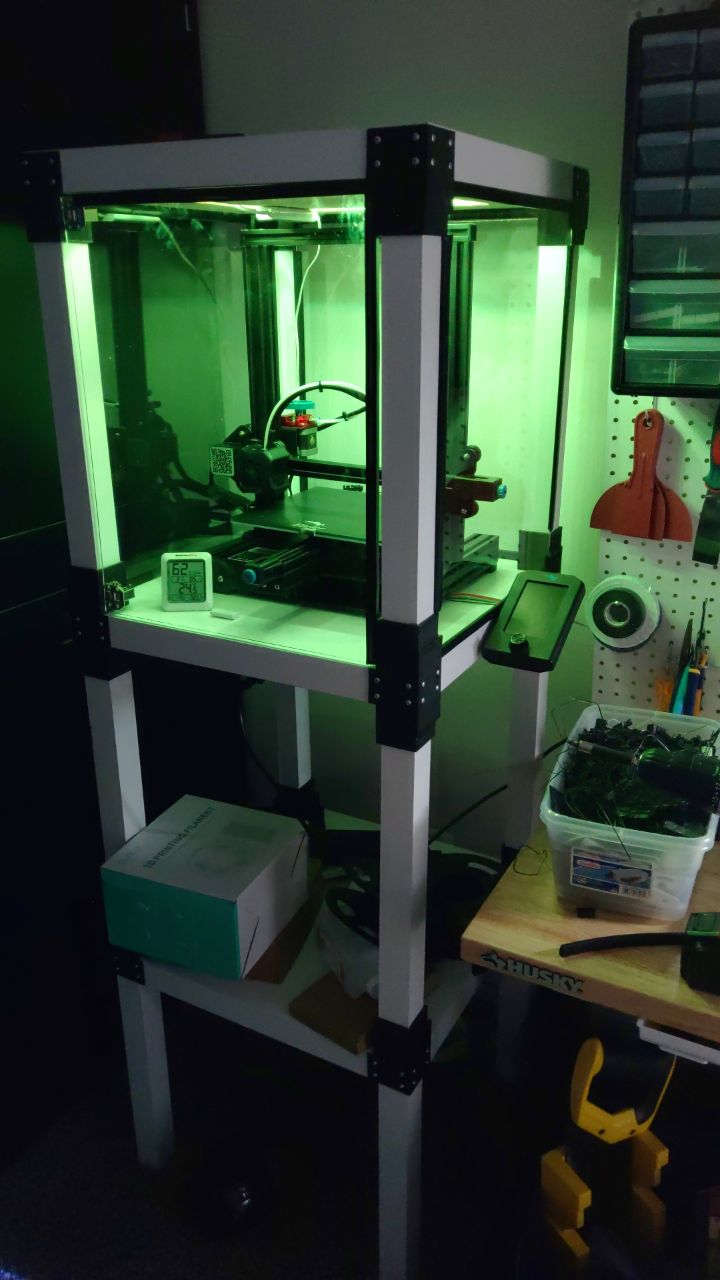
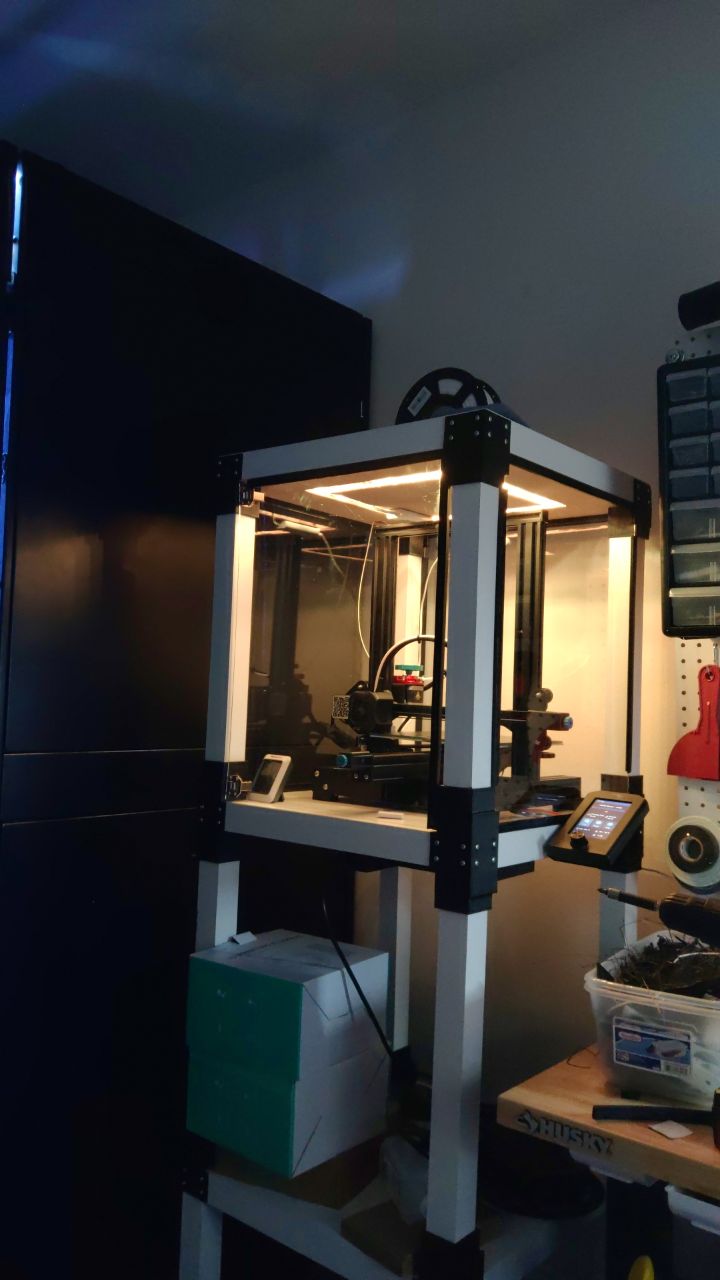
Today, it is a mostly complete project. There is only one problem - the seals are so good that the printer tends to overheat. I need to install an exhaust fan in the near future to mitigate this, as well as for processing toxic PLA and ABS fumes.